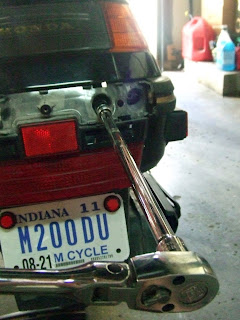
Flat tires have a way of getting your attention. Tires that won't maintain pressure are even more dangerous as you don't know they are a problem. I recently had a flat rear tire, and I decided to check the front tire.
Alas, I ended up replacing them both, and here is how I removed the front from my Elite CH 250. I have the service manual, and I suggest that you get a
copy if you don't have one.
1. Loosen the brake adjuster and remove the brake cable from the brake arm:
Essentially, you will need to squeeze the brake caliper slightly and unscrew the brake adjuster. Figure #1 shows the parts in question, and Figure #2 shows the brake adjuster reassembled on the brake cable.
Figure #1:

Figure #2:

2. Remove the set screw for the speedometer cable and disconnect the speedometer cable:
This sets screw holds the speedometer cable in place. You can remove it completely but don't lose it. You will need it later.
Figure #3:

3. Remove the brake cable completely from the brake housing by removing the adjuster, pulling it from from the housing, and replacing the adjuster. Now disconnect the speedometer cable.
Figure #4:

4. Remove the front brake torque link armbolt (12mm). Figure #5 shows the bolt in place, and Figure #6 shows the bolt removed.
Figure #5:

Figure #6:

5. Remove the axle nut (16mm) from the axle. It can be seen in Figure #6 in the middle/left of the picture.
6. Remove the front axle from the opposite side, and the front tire will now be free. You should now have several pieces (axle, axle nut, tire (figure #7), brake housing and a few other parts (figure #8)).
Figure #7:

Figure #8:

Keep in mind the order that things come apart. You will need to replace all of this once you have the new tire mounted.


